How to Create a Typing Animation in Premiere Pro (3 Methods)
Typing animations (also called typewriter effects) are a popular way to reveal text in videos. While Premiere Pro doesn't have a built-in typewriter effect like After Effects, there are several ways to achieve this look. Here are three methods, from manual to automated.
Video tutorial covering multiple methods:
Method 1: Using the Crop Effect (Manual)
This is the most common native method in Premiere Pro. It works by gradually revealing text using keyframed crop values.
- Create a text layer using the Type Tool (T)
- Go to Effects → Video Effects → Transform → Crop
- Apply the Crop effect to your text layer
- Set the Right crop value to 100% at the start (hides all text)
- Create a keyframe, then move to where you want the text fully revealed
- Set the Right crop value to 0%
Limitations: This reveals text smoothly rather than character-by-character. It also doesn't include a cursor, and timing adjustments require re-keyframing.
Method 2: Essential Graphics Templates (MOGRTs)
You can find free or paid typewriter MOGRTs (Motion Graphics Templates) that work directly in Premiere Pro.
Where to Find Typewriter MOGRTs
- Motion Array (large selection, subscription-based)
- Envato Elements (unlimited downloads with subscription)
- Adobe Stock (integrates directly with Premiere Pro)
- Mixkit (free templates, limited selection)
How to Use a MOGRT
- Download the .mogrt file
- Open the Essential Graphics panel (Window → Essential Graphics)
- Click the + icon and import your .mogrt file
- Drag it onto your timeline
- Edit the text and adjust timing in the panel
Pros: Easy to use, often includes cursor animation. Cons: Limited customization, may require purchase, and quality varies.
Method 3: Import a Pre-Made Animation
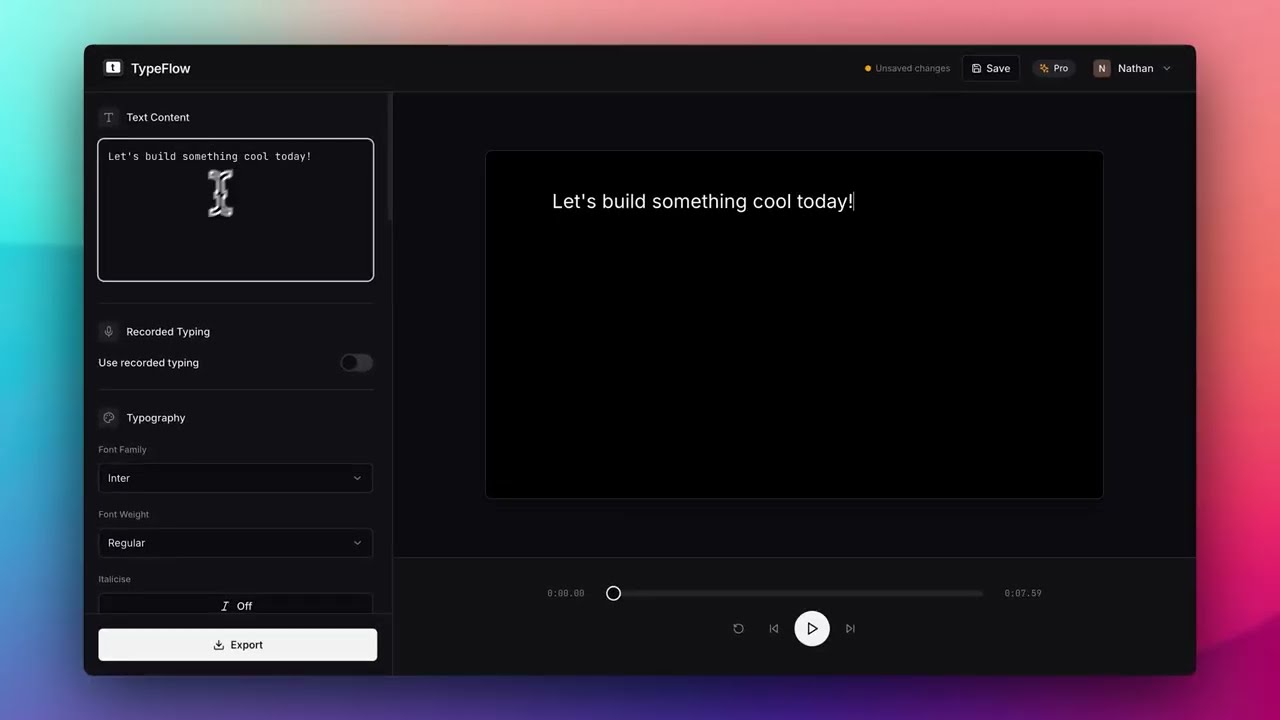
The fastest method is to create your typing animation in a dedicated tool and import the video file into Premiere Pro.
- Create your typing animation using a tool like TypeFlow, After Effects, or any animation tool
- Export as MP4 (with background) or MOV with alpha channel (transparent background)
- Import the file into Premiere Pro (File → Import)
- Drag it onto your timeline above your footage
- If using MOV with alpha, the transparency will work automatically
Quick tutorial: Create and import a typing animation in under 2 minutes:
Pros: Full control over the animation, includes cursor and realistic timing, works with any footage. Cons: Requires an external tool.
Which Method Should You Use?
- One-off simple reveal: Use the Crop effect
- Frequent use, want consistency: Get a good MOGRT template
- Need realistic typing with cursor: Use an external tool and import
Tips for Better Results
- Use a monospace font for a more authentic typewriter look
- Add a subtle keystroke sound effect synced to the typing
- Keep the typing speed readable. Too fast and viewers can't follow
- For transparent overlays, ensure your export format supports alpha channels (ProRes 4444 or Animation codec)
Need a typing animation quickly?
TypeFlow lets you create and export typing animations in seconds.
Try TypeFlow Free